How to Install Windows 11: USB & Clean Install Guide for Beginners
If you want to install Windows 11, the first decision is not which button to click. You need to decide whether you want to keep your current Windows environment or start over with a clean installation. An upgrade is usually the better choice when the PC works normally and you want to keep your apps and files. A USB clean install makes more sense for a FreeDOS PC, a new SSD, or a system you intentionally want to rebuild from scratch.
As of August 2026, Microsoft’s official Windows 11 download page lists the Windows 11 2025 Update, version 25H2, as the current release. Before you install Windows 11, check your backup, activation status, Windows edition, TPM 2.0, Secure Boot capability, and storage setup. A few minutes of preparation can prevent the two biggest mistakes: deleting the wrong drive and installing an edition that does not match your license.
① Choose How You Want to Install Windows 11
There are three common ways to install Windows 11, and each one serves a different purpose. Choosing the right path first makes the rest of the process much easier.
| Installation method | Best for | Files and apps | Main caution |
|---|---|---|---|
| Windows Update / Installation Assistant | A working Windows PC that you want to upgrade | Designed to preserve the current environment | Check compatibility and back up first |
| USB clean install | FreeDOS PCs, new SSDs, or a complete fresh start | Can erase data on the selected drive | Drive and partition selection is the highest-risk step |
| Mounted ISO + setup.exe | Upgrading or reinstalling from inside Windows without booting from USB | Depends on the option you select | This is different from booting into a USB clean install |
Use the condition of the PC to choose the method
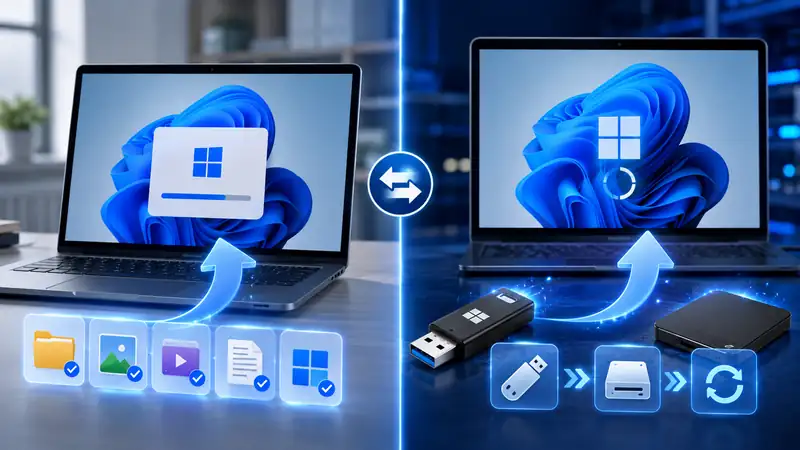
If Windows starts normally and you want to keep your apps and personal files, start with an upgrade method. If the machine has no operating system, uses a brand-new SSD, or needs a deliberately fresh setup, it is usually clearer to install Windows 11 from a bootable USB. A PC problem does not automatically mean you should format the drive.
② Before You Install Windows 11: Essential Checklist
Before you install Windows 11, verify the hardware and your recovery options. Microsoft’s current Windows 11 system requirements include the following minimums.
| Item | Minimum requirement or check |
|---|---|
| Processor | 1 GHz or faster, 2 or more cores, on a supported 64-bit processor |
| Memory | 4 GB RAM or more |
| Storage | 64 GB or larger storage device; leave extra free space for setup and updates |
| Firmware | UEFI and Secure Boot capable |
| TPM | TPM 2.0 |
| Graphics | DirectX 12 or later with a WDDM 2.0 driver |
| Internet & account | Internet connectivity and a Microsoft account are required during initial setup for Windows 11 Home and Pro for personal use |
- Back up important files: Check Desktop, Documents, Pictures, Downloads, browser bookmarks, local project files, game saves, and anything else you cannot easily recreate.
- Check your current edition: Open Settings > System > About or Activation and confirm whether the PC uses Home or Pro.
- Check activation: Confirm that Windows is activated and, when applicable, that the digital license is linked to your Microsoft account.
- Connect laptop power: Do not rely on battery power during a long installation.
- Know where the drivers are: For a FreeDOS laptop or custom PC, find the manufacturer’s Wi-Fi, chipset, graphics, and storage-controller support page before you begin.
Related guide: Windows 11 Backup Guide — A Practical Step-by-Step Walkthrough for Beginners
If compatibility is uncertain, use Microsoft’s official system requirements and PC Health Check guidance as the baseline before you install Windows 11.
③ Download Official Files to Install Windows 11
Use the official Download Windows 11 page rather than a third-party download site. Microsoft currently provides three main routes: the Windows 11 Installation Assistant, the Media Creation Tool, and a Windows 11 ISO.
If you are upgrading the PC you are using now
- Open the official Windows 11 download page.
- Download Windows 11 Installation Assistant.
- Run it as an administrator.
- Let the tool check hardware compatibility, review the license terms, and start the installation.
- Save your work before the restart stage and keep the PC powered on.
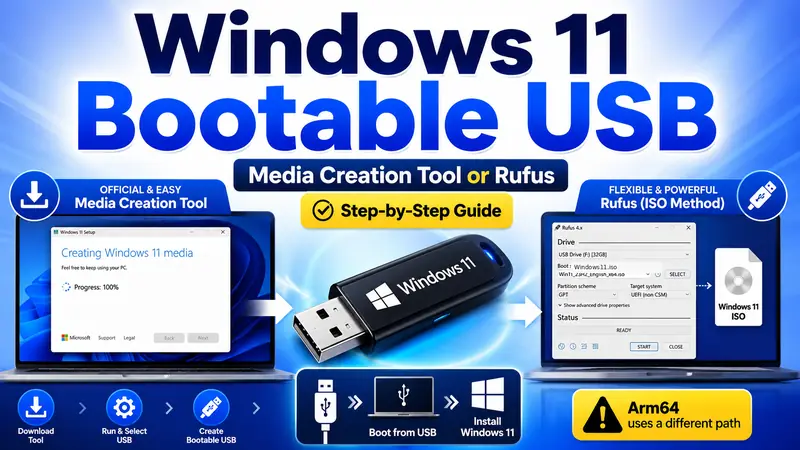
The Installation Assistant is a convenient way to install Windows 11 on the device you are currently using. Microsoft notes that it works on x64 PCs and does not run on Arm-based PCs.
If you need a FreeDOS, new-SSD, or clean installation
- Prepare a blank USB flash drive with at least 8 GB of space. Its contents will be deleted.
- Download the Media Creation Tool from the official Windows 11 page.
- Run the tool as an administrator.
- Confirm the language, edition, and 64-bit architecture.
- Choose USB flash drive.
- Select the correct USB by checking both its capacity and drive letter, then let the tool finish.
One of the easiest mistakes to make before you install Windows 11 is selecting an external SSD or a USB drive that contains personal data. Do not rely on the drive name alone.
Related guide: How to Create a Windows Bootable USB — Step-by-Step Guide
④ Boot from USB Before You Install Windows 11
Use the one-time Boot Menu when possible
If you are new to firmware settings, it is usually simpler to use the one-time Boot Menu than to permanently change the BIOS or UEFI boot order. The key varies by manufacturer, but F2, F12, Delete, and Esc are common.
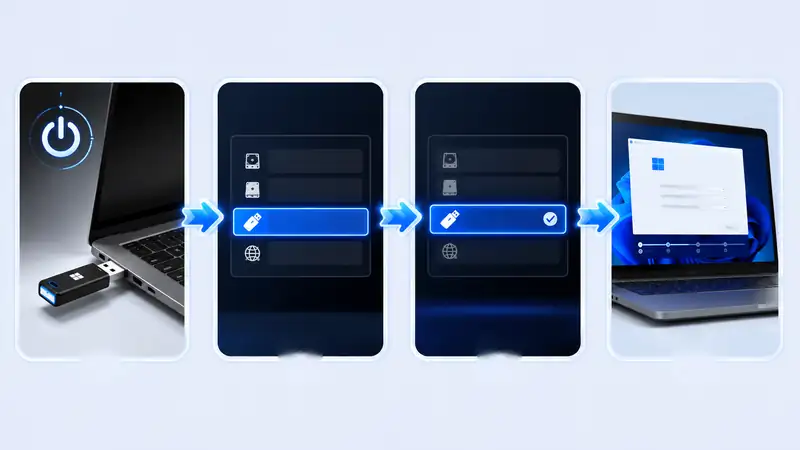
- Shut the PC down completely.
- Connect the Windows 11 installation USB.
- Power on the PC and immediately press the manufacturer’s Boot Menu or UEFI key.
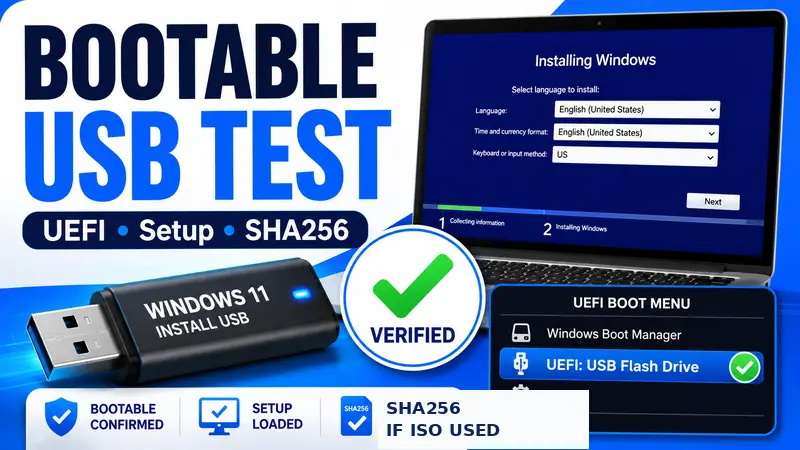
- Choose the USB entry labeled for UEFI when available.
- Confirm that Windows Setup appears.
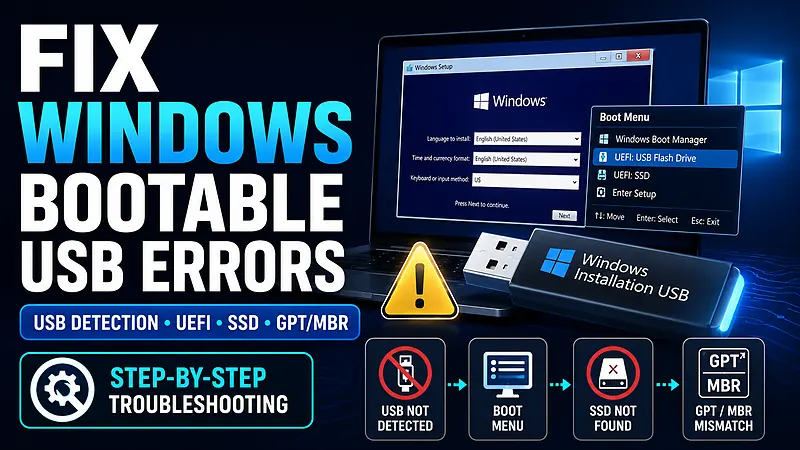
If the USB does not appear, do not immediately disable Secure Boot or change several firmware options at once. First verify that the USB was created correctly, try another USB port, and check the manufacturer’s boot instructions. Once Windows Setup opens, you are ready to install Windows 11.
Related guides: Windows Bootable USB Setup Guide · How to Check a Windows Bootable USB
⑤ How to Install Windows 11 with a Clean Installation
After the PC boots from the USB drive, the actual clean-install process begins. The exact wording can change slightly between builds, but the overall sequence remains similar.
- Choose the language and keyboard settings, then continue.
- Select the option to install Windows 11.
- Read the warning that a clean installation can remove files, apps, and settings.
- Enter a product key if needed. If this PC was previously activated with a digital license for the same edition, you can often choose I don’t have a product key.
- Choose the Windows 11 edition that matches your license, such as Home or Pro.
- Review the license terms.
- Select the drive where Windows should be installed.
- If you intentionally want a complete clean install, delete partitions only on the confirmed target system drive.
- When the intended target is shown as unallocated space, select it and continue.
- Let Setup copy files and install Windows 11. The PC can restart several times.
Most important warning: If the PC has more than one SSD or HDD, never delete partitions just because they appear under “Disk 0.” Confirm the physical drive by capacity and layout. A wrong selection can erase a separate data drive.
Microsoft’s reinstall guidance specifically warns users with multiple drives not to modify partitions on other disks. The drive-selection screen is the one part of the process where slowing down is more valuable than finishing quickly.
If the SSD does not appear in Windows Setup
Some newer laptops use storage-controller configurations such as Intel VMD or Intel Rapid Storage Technology. In those cases, Windows Setup may not display the internal SSD until the correct storage driver is loaded.
First confirm whether the SSD appears in BIOS or UEFI. If it is visible there but missing from Windows Setup, check the computer manufacturer’s support page for the correct storage-controller driver and model-specific instructions. Use the Load Driver option in Setup when the manufacturer requires it.
Avoid changing VMD, RAID, or AHCI settings at random just to install Windows 11. Those changes can alter how an existing Windows installation sees the storage controller. When the manufacturer provides a supported driver-loading method, follow that method first.
Related guide: Windows Bootable USB Errors — Causes and Step-by-Step Fixes
⑥ Install Windows 11 Without Erasing Your Existing Setup
You do not have to wipe a drive every time you install Windows 11. If Windows currently starts normally and your goal is to keep personal files and applications, use Windows Update, the Installation Assistant, or run setup.exe from mounted official installation media inside Windows.
- Back up important files.
- Confirm Windows 11 compatibility.
- Use Windows Update if the upgrade is offered, or run the official Installation Assistant.
- If you mount an ISO or open installation media from inside Windows, run
setup.exe. - When the option is available, review whether personal files and apps will be kept.
- Save open work and keep the PC connected to stable power.
This method is often the better way to install Windows 11 when moving from an existing Windows installation or when you want a reinstall without rebuilding the machine from zero. A backup is still important because power loss, storage failure, or a compatibility problem can happen during an upgrade too.
⑦ First Startup After You Install Windows 11
After the files are copied, Windows enters the out-of-box experience. You will choose your country or region, keyboard, network, Microsoft account, privacy settings, and other preferences. Microsoft’s current system requirements state that Windows 11 Home and Windows 11 Pro for personal use require internet connectivity and a Microsoft account during initial device setup.
Seeing the desktop means the main installation is done—not the whole job
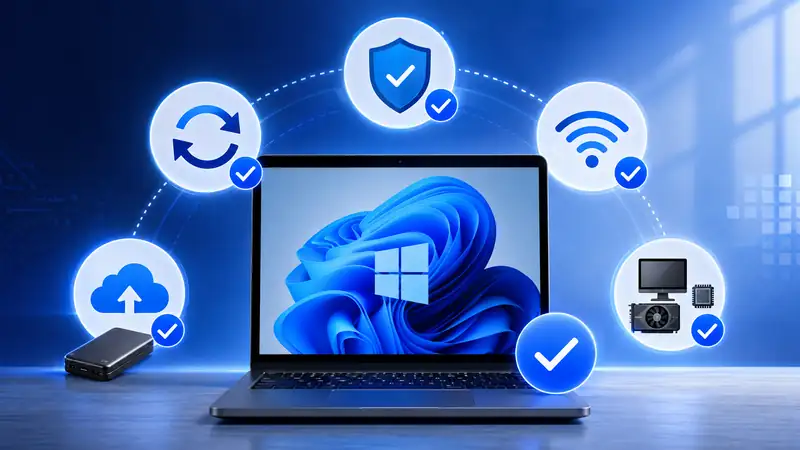
Once the desktop appears, you have managed to install Windows 11, but the PC is not fully ready yet. Updates, drivers, activation, Wi-Fi, and your backup routine still need to be checked. This matters especially on FreeDOS laptops, where wireless or touchpad hardware may depend on manufacturer-specific drivers.
⑧ Five Checks After You Install Windows 11
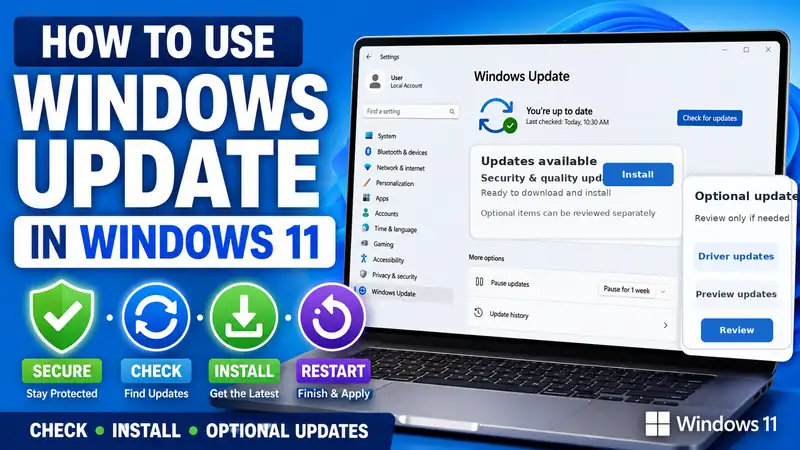
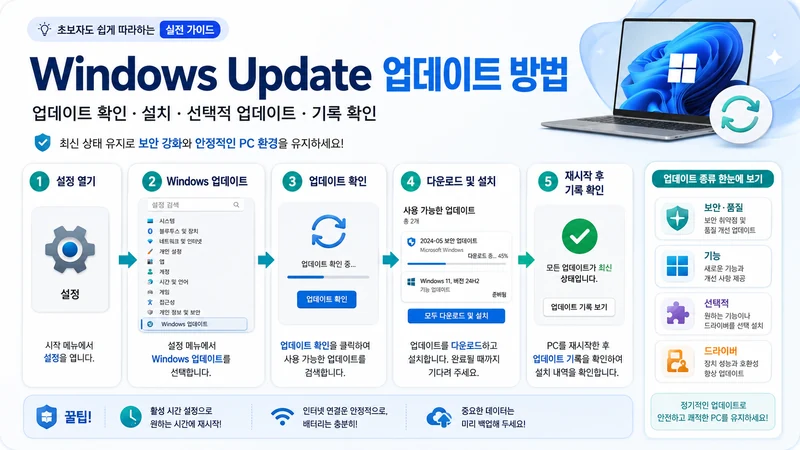
- Run Windows Update: Open Settings > Windows Update > Check for updates and install available security and quality updates.
- Verify activation: Open Settings > System > Activation and confirm the activation status and edition.
- Test device drivers: Check Wi-Fi, Bluetooth, graphics, audio, webcam, and touchpad operation.
- Install manufacturer drivers when needed: Use the official laptop or motherboard support page for chipset, storage, graphics, and other required drivers.
- Restore your backup routine: Reconnect OneDrive, File History, an external backup drive, or your preferred backup method.
If the same edition was previously activated on this PC with a digital license, Windows generally activates online again after you install Windows 11. Microsoft’s Windows activation guidance explains that the edition you reinstall should match the edition covered by the digital license.
If activation fails, first check for a Home/Pro mismatch. Then check whether the digital license is linked to the correct Microsoft account and whether major hardware, such as the motherboard, was replaced.
Related guide: Windows 11 Update Guide — A Practical Walkthrough for Beginners
⑨ When You Cannot Install Windows 11: What to Check First
Q. The USB drive does not appear in the Boot Menu
A. Confirm that the USB is actually bootable, try a different USB port, and look for a UEFI USB entry. Change one firmware setting at a time so you can identify what fixed the problem.
Q. “This PC can’t run Windows 11” appears
A. Recheck TPM 2.0, Secure Boot capability, supported CPU, memory, storage, and the other minimum requirements. If a supported feature is present but disabled, use the motherboard or PC manufacturer’s UEFI instructions rather than relying on a generic BIOS screenshot.
Q. The SSD or NVMe drive is missing
A. If the drive is missing from BIOS as well, investigate the physical connection or hardware first. If BIOS can see the drive but Windows Setup cannot, the storage-controller configuration or driver may be the cause. Check the manufacturer’s official driver package before you try to install Windows 11 again.
Q. Windows is not activated after installation
A. Check whether the installed edition matches your license, then review your digital-license status, Microsoft account connection, and any major hardware change.
Q. Windows Setup starts again after the first reboot
A. The computer may still be booting from the USB drive. Choose Windows Boot Manager or the internal SSD in the Boot Menu, or restore the normal boot order if you changed it.
⑩ Install, Reset, Recover, or Upgrade: Which One Should You Choose?
| Situation | Start with | Why |
|---|---|---|
| The current PC works and you want Windows 11 | Upgrade installation | Keeps the existing environment while moving to Windows 11 |
| FreeDOS PC, new SSD, or a completely fresh start | USB clean install | Lets you build a new Windows environment from scratch |
| Windows still boots but problems keep returning | Recovery or in-place reinstall | You can try a repair path before erasing the drive |
| You want Windows closer to a fresh state with fewer manual steps | Reset this PC | Simpler than rebuilding everything from USB |
If you are unsure how to install Windows 11 because the PC has a specific problem, do not jump straight to formatting. The best method depends on whether you are upgrading, troubleshooting, replacing a drive, or starting with a blank system.
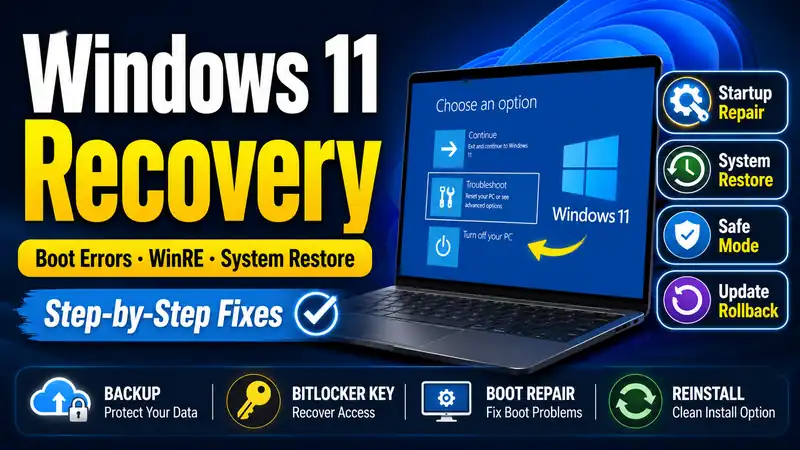
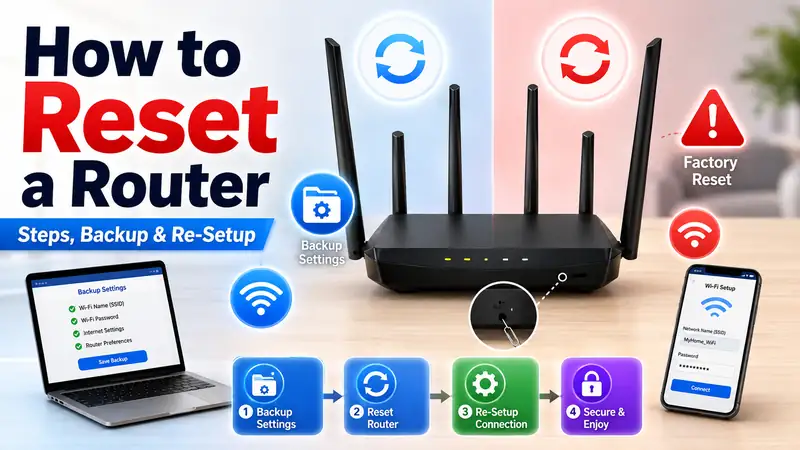
Next in the series: Windows 11 Recovery Guide · Windows 11 Reset Guide
❓ Frequently Asked Questions
Q. How large does the Windows 11 installation USB need to be?
A. Microsoft’s Media Creation Tool requires a blank USB flash drive with at least 8 GB of space. Everything on the USB is deleted when the installation media is created.
Q. Can I install Windows 11 without entering a product key?
A. Yes, in many reinstall scenarios. If the device already has a digital license for the same edition, you can usually choose I don’t have a product key and let Windows activate online after installation. A new device without a license still needs a valid digital license or product key for activation.
Q. Can I install Windows 11 Pro if the PC was licensed for Home?
A. You can install Pro, but a Home digital license does not automatically activate Pro. If your existing license is Home and you want automatic reactivation, reinstall Home. To use Pro, you need a Pro license.
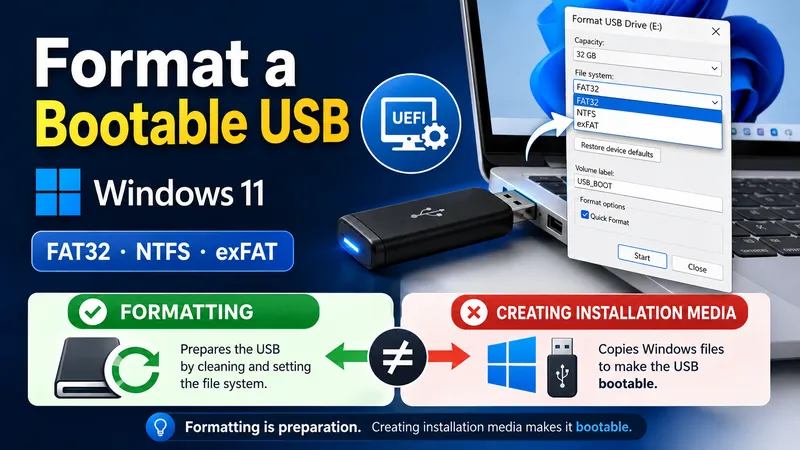
Q. Do I have to format the drive before I install Windows 11?
A. No. An upgrade can keep the existing Windows environment, and recovery, reset, or an in-place reinstall may be a better choice for a PC that still boots. Formatting is only one path.
Q. Why does Windows Setup keep appearing after installation?
A. The PC may still be booting from the USB drive. Choose Windows Boot Manager or the internal SSD from the Boot Menu, or restore the boot order you changed before installation.
Final Thoughts: The Order Matters More Than the Installer
Learning how to install Windows 11 is mostly about choosing the right path and protecting the right drive. If the current PC works normally, consider an upgrade first. If you are setting up a FreeDOS PC, replacing the SSD, or intentionally rebuilding the machine, a bootable USB clean install is the clearer option.
Before you install Windows 11, verify the system requirements, back up important data, check activation, and confirm the Home or Pro edition. After you install Windows 11, run Windows Update, verify drivers and activation, and restore your backup routine. Follow that order and a first-time Windows installation becomes much easier to manage.