How to Set Up WiFi | A Step-by-Step Guide for Beginners
When setting up WiFi for the first time, the goal is not simply to “get online.” A better approach is to configure the network in a clear order: router admin settings → network name (SSID) → WiFi password → security mode → frequency bands → firmware → guest/IoT separation → connection test. Doing this up front can prevent many of the connection and security problems that appear later.
The same process works whether you are installing a new router, replacing an ISP-provided router, reconnecting your home internet after a move, or reorganizing an old WiFi network. This guide focuses on setting up a stable and secure home WiFi network from the beginning.
① WiFi setup comes before connecting your devices
“WiFi setup” and “connecting to WiFi” sound similar, but they solve different problems. WiFi setup means configuring the wireless network itself, while WiFi connection means joining that finished network from a phone, computer, tablet, TV, or other device.
| Task | What it does | Typical actions |
|---|---|---|
| Wi-Fi setup | Creates and configures the wireless network | SSID, password, WPA2/WPA3, 2.4/5/6 GHz, firmware, guest network |
| Wi-Fi connection | Connects a device to the finished network | Choose the network on Windows, Android, iPhone, or Mac and enter the password |
| Wi-Fi troubleshooting | Finds the cause of connection or internet failures | Separate device, router, modem, and ISP-line problems |
For this stage, you do not need to memorize every device menu. The priority is to decide how your home network should be named, secured, and organized. Once that foundation is in place, connecting individual devices becomes much easier.
② Before you start: check the router, internet line, and admin information
A few minutes of preparation can prevent accidental resets and make setup much smoother.
- Internet service or modem: Make sure your ISP connection is active.
- Wireless router: This may be an ISP-supplied gateway/router or a router you purchased separately.
- Setup device: Have a laptop or smartphone ready.
- Router admin information: Check the label, manual, or official manufacturer app for the admin address, default credentials, and setup method.
- Existing configuration: If you are replacing a router, record any settings you may need for internet service, IPTV, phone service, port forwarding, or other special features.
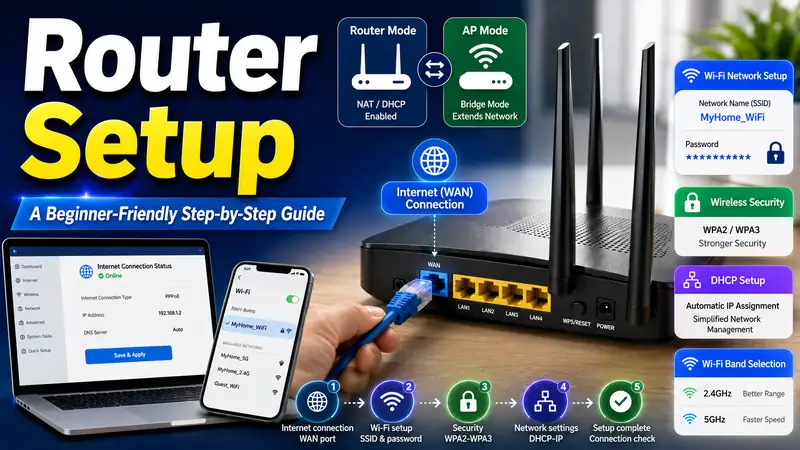
Connect the modem or wall internet line to the router first
- Locate the Ethernet cable coming from your modem, ONT, or wall internet outlet.
- Connect that cable to the router port labeled WAN or Internet.
- Connect power to the router and wait for it to finish booting.
- If you are using a wired computer for setup, connect it to a LAN port on the router. If you are using a phone, join the router’s initial WiFi network or use the official setup app.
- If your modem and router are separate devices, check that both show normal status indicators before continuing.
Port names and ISP equipment vary. In most home setups, the incoming internet connection uses the WAN/Internet port and wired devices use LAN ports, but you should always follow the labels and official instructions for your specific equipment.
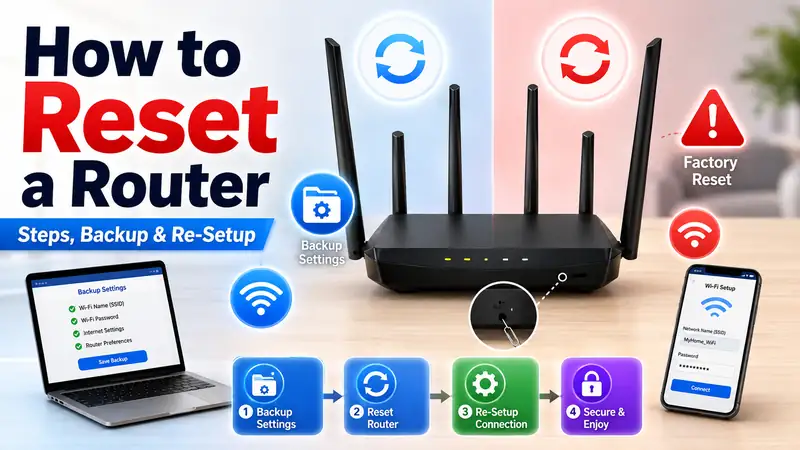
Important: The RESET pinhole on the router is for a factory reset. It is not the normal way to open the settings page. If the router is still accessible, review the existing configuration before resetting anything.
③ Sign in to the router and check for a firmware update
Depending on the brand, router settings are managed through a web-based admin page or an official mobile app. Many routers use a private IP address for the admin page, but the exact address and credentials vary. Use the router label, manual, or manufacturer’s official setup instructions instead of guessing.
- Connect your laptop or phone to the router using Ethernet or the router’s initial WiFi network.
- Find the official admin-page or app instructions for your model.
- Sign in to the router.
- If this is the first login, change the default router administrator password.
- Open the system, administration, or firmware section and check for updates.
- After the update is complete, open the wireless or WiFi settings.
Microsoft recommends changing default router credentials and using a network security key. It also recommends WPA3 when both the router and client device support it. Newer WiFi features only work when the router and the connecting device support the required standard. Microsoft: Setting up a wireless network
④ Five WiFi settings you should review first
The menu names vary by router, but the same core decisions appear on most home networks.
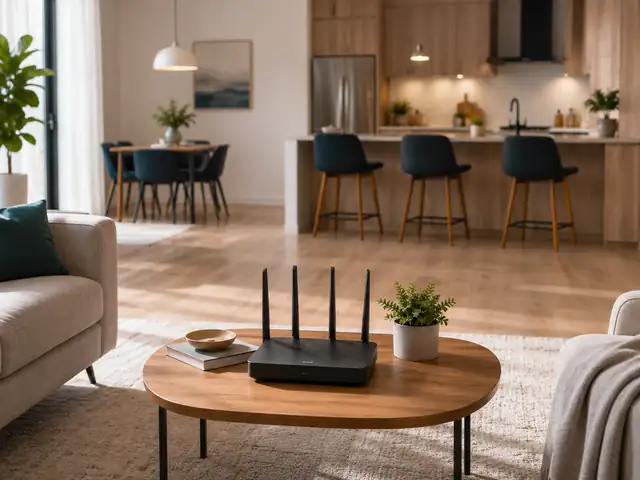
Router placement
A router usually performs better in an open, reasonably central location than on the floor, inside a metal cabinet, or at one far end of the home. Walls, doors, furniture, and distance can all reduce signal quality.
Router admin password
The router administrator password is different from the WiFi password. It controls access to settings such as the SSID, DNS, ports, and security options. Replace the factory default with a unique password that you do not reuse elsewhere.
SSID and WiFi password
The SSID is the WiFi name your devices see. Use a recognizable but neutral name rather than exposing your address, full name, or router model. Choose a long, hard-to-guess WiFi password and avoid reusing a password from another account.
Security mode
Use WPA3-Personal when your router and devices support it. If you still need compatibility with older devices, consider your router’s WPA2/WPA3 transition mode or WPA2-Personal with AES. If an old router only offers WEP or legacy WPA, replacing it is worth considering.
Frequency bands
2.4 GHz generally provides better reach through distance and walls, while 5 GHz is often better for higher throughput at shorter range. WiFi 6E and WiFi 7 equipment can also use 6 GHz, but both the router and the client device must support it.
⑤ How should you use 2.4 GHz, 5 GHz, and 6 GHz?
Turning on more bands does not automatically make every device faster. The right choice depends on distance, walls, interference, device support, and the performance you actually need.
| Band | Strengths | Limitations | Good fit |
|---|---|---|---|
| 2.4 GHz | Longer reach and better wall penetration in many homes | More interference and potentially lower throughput | Distant rooms, IoT devices, older hardware |
| 5 GHz | Higher throughput and often less congestion at short range | More sensitive to distance and obstacles | Laptops, TVs, game consoles, high-resolution streaming |
| 6 GHz | Access to additional spectrum and wider channels on supported hardware | Requires compatible hardware and has shorter practical reach | Nearby Wi-Fi 6E/7 devices that need high performance |
Should you use one SSID or separate names for each band?
Many modern routers include features such as Smart Connect or band steering that allow 2.4 GHz, 5 GHz, and sometimes 6 GHz to share one SSID. For most beginners, starting with one SSID is easier to manage.
Separate SSIDs can still be useful for troubleshooting. For example, some IoT devices only work on 2.4 GHz during setup, or you may want to compare the behavior of each band in a difficult room.
WiFi 7 also introduces Multi-Link Operation (MLO), which can allow supported devices to use multiple bands such as 2.4 GHz, 5 GHz, and/or 6 GHz at the same time. This requires compatible router hardware, client hardware, and software support. Microsoft notes that Windows 11 WiFi 7 support requires compatible hardware, and WiFi 7 support starts with Windows 11 version 24H2. Microsoft: Faster and more secure WiFi in Windows
⑥ WiFi security includes the router admin account, not just the network password
A common mistake is to change the WiFi password while leaving the router administrator password at its factory default. These passwords protect different parts of the network.
| Setting | What it protects | Recommended approach |
|---|---|---|
| Wi-Fi password | Access from phones, PCs, TVs, and other wireless devices | Use a long, unique password and do not reuse it on other accounts |
| Router admin password | Access to SSID, DNS, port, security, and other router settings | Change the factory default and keep it separate from the Wi-Fi password |
| Security mode | Wireless communication | Prefer WPA3-Personal when supported; use a secure WPA2 option when compatibility requires it |
| Firmware | Router software and known security issues | Enable automatic updates when available or check regularly |
The U.S. Federal Trade Commission recommends WPA3 Personal or WPA2 Personal, changing default router settings, and keeping router software up to date. It also distinguishes the WiFi network password from the router administrator password. FTC: How to secure your home WiFi network
The FTC also recommends turning off convenience features such as Remote Management, WiFi Protected Setup (WPS), and Universal Plug and Play (UPnP) when you do not need them. Do not disable features blindly; first confirm whether your home setup actually depends on them.
Use a guest network and separate IoT devices when your router supports it
Instead of sharing your primary WiFi password with every visitor, create a guest network when possible. If the router also offers client isolation or a dedicated IoT network, consider placing smart lights, cameras, robot vacuums, and similar devices away from PCs, NAS devices, and other systems that hold personal files.
Guest-network isolation works differently across router brands. Do not assume that a network labeled “Guest” automatically provides complete separation. Check the manual for settings such as local network access, client isolation, or IoT network isolation.
⑦ Leave IP, DNS, and channel settings on automatic at first
One of the easiest ways to make troubleshooting harder is to manually change IP addresses, DNS servers, channel widths, and channel numbers before you know whether the default setup works. Start with automatic settings, establish a stable baseline, and change only what you have a reason to change.
- IP address: Most home networks should start with the router’s DHCP automatic addressing.
- DNS: If the connection is working normally, begin with the ISP or automatic DNS settings. Change DNS only when you have a specific reason.
- Channel: Keep automatic channel selection if it is stable. Consider manual changes only when congestion or interference is clearly causing a problem.
- Channel width: Wider is not always better. In a crowded environment, a narrower width can sometimes be more stable.
- Transmit power: Maximum power is not automatically the best setting for every home. Judge it by coverage and roaming behavior.
⑧ Before connecting all your devices, check these seven items
- Internet service: Confirm that the modem, ONT, or ISP gateway appears to be online.
- SSID: Make sure the new WiFi name appears in nearby device lists.
- Security mode: Confirm that the network is using WPA3 or another secure compatible mode.
- WiFi password: Record the new password accurately.
- Router admin password: Confirm that the factory default has been changed.
- Firmware: Make sure the router is up to date.
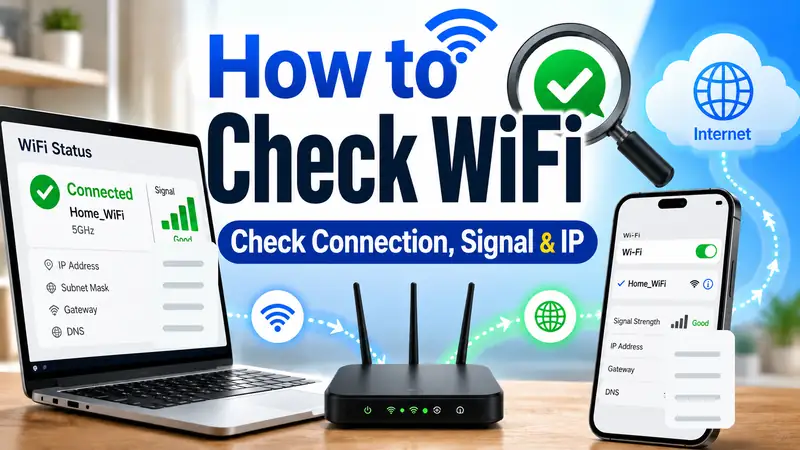
- Test device: Connect one phone or laptop and open a few websites before adding the rest of your devices.
On iPhone and iPad, go to Settings → WiFi, choose the network, and enter the password when asked. On many Android devices, go to Settings → Network & internet → Internet and choose the WiFi network. Menu names can vary by manufacturer and operating-system version. Apple: Connect to WiFi on iPhone or iPad · Google: Connect to WiFi on Android
For device-specific instructions, continue with “How to Connect to WiFi | A Step-by-Step Guide for Beginners”, which can cover Windows, Android, iPhone, and Mac separately.
⑨ If WiFi is connected but the internet does not work, stop changing settings and isolate the cause
If the SSID appears and the password is accepted but you still cannot reach the internet, repeatedly changing router settings can make the problem harder to diagnose. Instead, determine whether the problem is with one device, the router, the modem/ONT, or the ISP connection.
- Check whether other devices also lose internet access on the same WiFi network.
- Test whether the affected device works on another WiFi network or a phone hotspot.
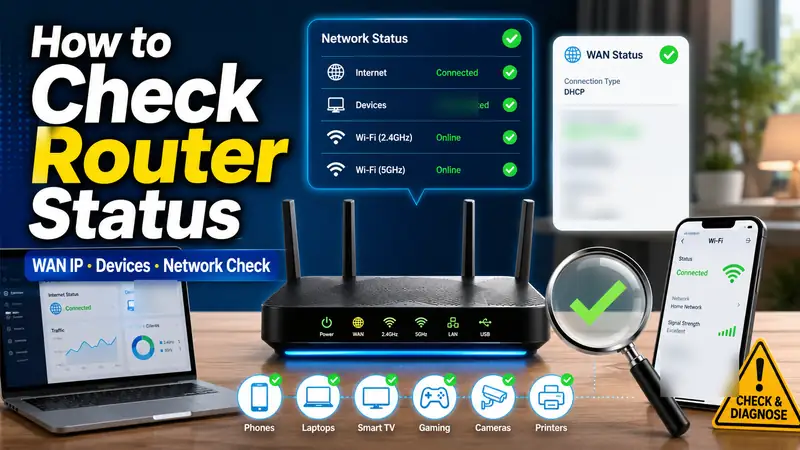
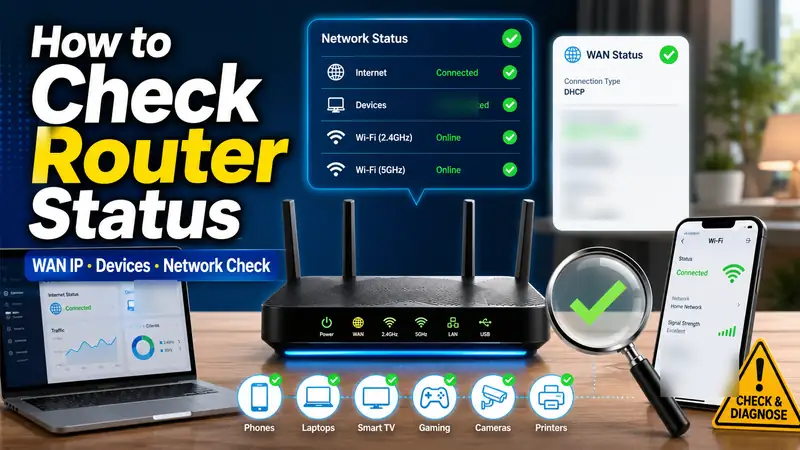
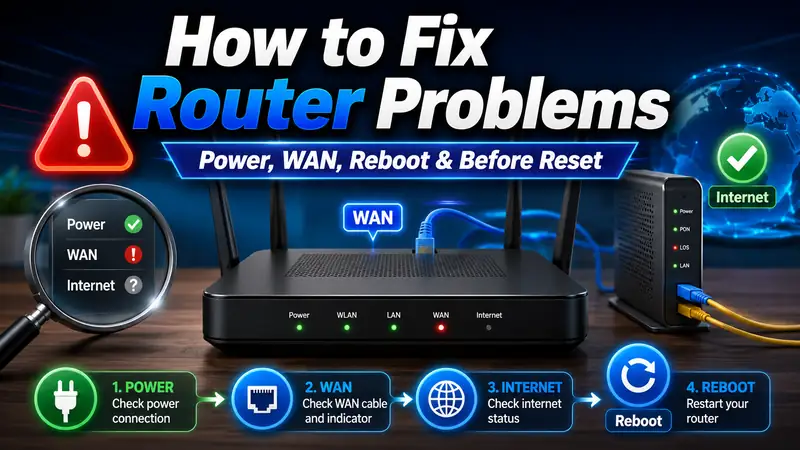
- Check the router’s Internet/WAN status and the modem or ONT indicators.
- Restart the modem and router before performing a factory reset.
- Forget the saved WiFi network on the affected device and reconnect.
This is where setup turns into troubleshooting. The companion guide “WiFi Troubleshooting Guide | Fix Connection Problems Step by Step” covers how to separate device, router, modem, and ISP-line issues. Link this title to the English troubleshooting article once its final public URL is available.
❓ Frequently asked questions
Q. Should I change the WiFi password as soon as I install the router?
A. Yes, but do not stop there. First check the router administrator password and firmware status, then configure the SSID, WiFi password, and security mode. The WiFi password and router admin password serve different purposes and should be managed separately.
Q. Can 2.4 GHz and 5 GHz use the same WiFi name?
A. Yes. If your router supports Smart Connect or band steering, using one SSID is often the easiest option. Separate SSIDs can still help when setting up a 2.4 GHz-only IoT device or diagnosing a band-specific problem.
Q. Can WPA3 prevent an older device from connecting?
A. Yes. Some older devices do not support WPA3. If your router offers WPA2/WPA3 transition mode, that may help with compatibility. If a device or router only supports outdated standards such as WEP or legacy WPA, replacing the old hardware is worth considering.
Q. Does hiding the SSID make WiFi more secure?
A. Hiding the SSID is not a substitute for real security. Stronger protection comes from WPA2/WPA3 encryption, a strong WiFi password, a changed router admin password, current firmware, and disabling unnecessary remote-management features.
Q. If WiFi is slow, should I change the channel first?
A. Usually not. First test close to the router and compare distance, walls, band selection, and congestion. If automatic channel selection is stable, keep it. Consider manual channel changes only when interference is a confirmed problem.
Conclusion: good WiFi setup is about preventing future problems
A reliable home WiFi setup usually follows this order: change the router admin password → update firmware → set the SSID and WiFi password → choose WPA3 or a secure compatible mode → decide how to use 2.4/5/6 GHz → separate guest or IoT devices when useful → test with one device.
Leave advanced settings such as manual IP addresses, DNS, channels, and channel widths on automatic until you have a reason to change them. Once the basic network is stable, it becomes much easier to work through the rest of the WiFi cluster: connecting devices, improving speed, changing passwords, checking saved passwords, sharing WiFi, and updating the router.