How to Set Up a Router | A Beginner-Friendly Step-by-Step Guide
If you want to learn how to set up a router properly, there is more to it than changing the WiFi name and password. A reliable first-time setup follows a clear order: choose Router Mode or AP Mode → connect the internet line to the correct port → select the right WAN connection type → configure the WiFi name, password, and security → review bands, channels, DHCP, and NAT → test the network on real devices. Following that sequence makes it much easier to avoid configuration problems later.
The setup path also depends on where the new router sits in your network. Adding a personal router behind an ISP gateway is different from connecting your own router directly to a modem or ONT. If you do not separate those two cases at the beginning, the internet may still appear to work while leaving you with problems such as double NAT, overlapping DHCP, or complicated port forwarding.
① How to set up a router: choose Router Mode or AP Mode first
Most home installations fall into one of a few common patterns. Identify yours first, and the rest of the setup becomes much easier.
| Setup situation | Recommended starting mode | Main role |
|---|---|---|
| A new router connects directly to a modem, ONT, or wall internet line | Router Mode | The new router handles WAN, NAT, DHCP, and WiFi |
| A new router is added behind an ISP gateway or existing main router | Consider AP Mode first | Keeps the existing routed network while expanding WiFi or wired coverage |
| An older router is being completely replaced | Router Mode | The new router takes over the internet connection and home-network management |
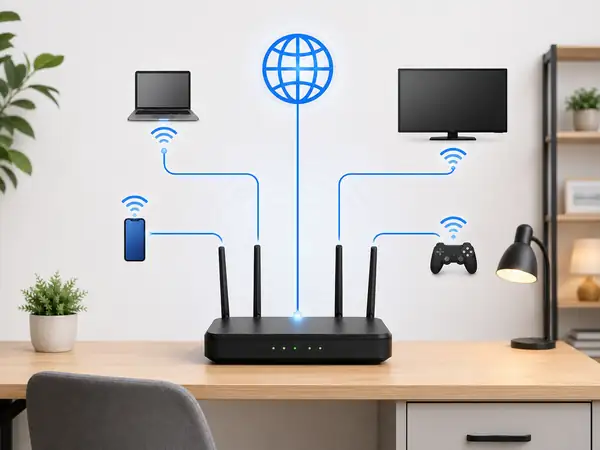
Router Mode
This is the standard setup when the new router connects directly to the incoming internet service and handles NAT, DHCP, and WiFi for the home. If you plan to use features such as port forwarding, VPN, or parental controls, Router Mode is usually the right starting point.
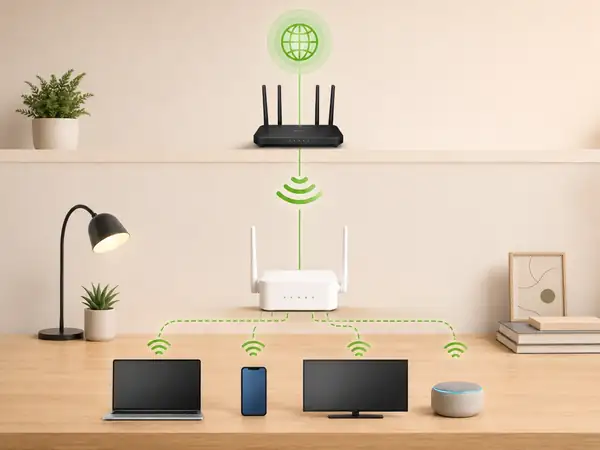
AP Mode
AP Mode is useful when another device already manages the internet connection and you only want to expand WiFi or local wired coverage. Depending on the router, features such as NAT, DHCP, and port forwarding may be disabled or limited in this mode.
TP-Link’s current English documentation makes the same distinction: Router Mode provides routing functions such as NAT and DHCP, while Access Point Mode extends an existing network. The exact features available in AP Mode can vary by model. TP-Link: Access Point Mode vs Router Mode
② Connect the WAN cable and power correctly
When you are using Router Mode, connect the Ethernet cable from your modem, ONT, ISP gateway, or wall internet port to the router’s WAN or Internet port. Devices inside your home network—such as a PC, TV, game console, or network switch—normally connect to LAN ports.
- If you already have working internet equipment, take a quick photo of the original cable layout before disconnecting anything.
- Connect the incoming internet Ethernet cable to the router’s WAN or Internet port.
- Connect power and wait for the router to finish booting.
- Connect the phone, laptop, or PC you will use for setup through the router’s default WiFi or a LAN cable.
- If an ISP modem, ONT, or gateway sits in front of the router, make sure that device has reached its normal online state.
TP-Link’s current web-management setup guide follows the same basic sequence: connect the modem to the router’s WAN port, connect a device to the router, and then continue through the management interface. TP-Link Router Setup Guide
③ Open the router setup page using the address for your model
Do not assume every router uses an address such as 192.168.0.1. The management IP, local setup domain, mobile app, and first-time login process vary by manufacturer and model.
- Check the label on the bottom or back of the router for the setup address, default network information, or QR code.
- If the manual or official app tells you to use a specific setup method, use that method first.
- While connected to the router, type the official setup address directly into your browser’s address bar.
- Avoid searching for the login page through a search engine when the router provides a direct local address.
- Many current routers ask you to create a new administrator password during the first login.
ASUS Quick Internet Setup (QIS), for example, guides users through WAN detection, WiFi settings, and router administrator credentials during first-time setup. ASUS Quick Internet Setup Guide
④ Choose the correct WAN connection type
The WAN connection type is one of the most important settings in the entire router setup. Some routers can detect it automatically, but any connection details supplied by your ISP should take priority.
| Connection type | When it is used | What you need |
|---|---|---|
| Dynamic IP / Automatic IP / DHCP | The upstream network assigns the router an address automatically | Usually no manual values |
| PPPoE | The ISP requires PPPoE authentication | The username and password supplied by the ISP |
| Static IP | The ISP or network administrator supplies fixed addressing information | IP address, subnet mask, gateway, DNS, and related values |
Current TP-Link and ASUS setup documentation both use Dynamic IP, PPPoE, and Static IP as common WAN choices. If you do not know which type your service uses, ask your ISP rather than guessing or entering values found online.
Official references: TP-Link Router Setup Guide · ASUS WAN Connection Type Guide
If the internet does not work immediately, do not assume the WAN setting is wrong
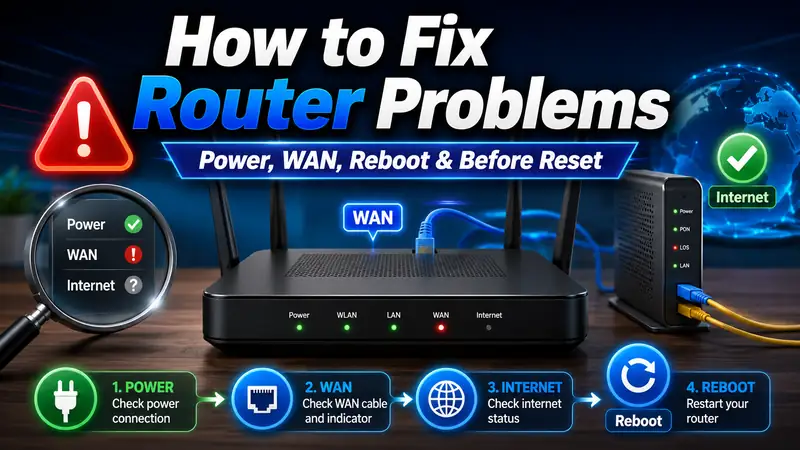
A modem or ONT may need time to recognize a newly connected router, and some internet services use additional authentication or provisioning. Check the WAN cable and upstream device first. If the connection still fails, continue with How to Fix Router Problems | A Step-by-Step Troubleshooting Guide and work through the modem, WAN IP, and internet-line checks.
⑤ Set the WiFi name, password, and security separately from the admin login
Once the WAN side is working, configure the WiFi network name (SSID) and WiFi password. Remember that the WiFi password and the router administrator password protect different things, so using different passwords for them is a better setup.
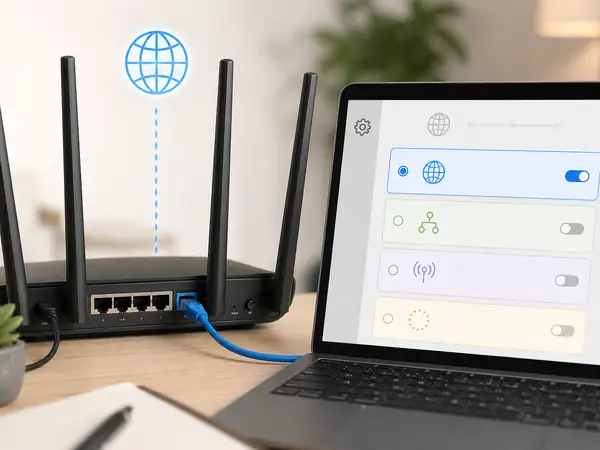
WAN Setup
Select the actual connection type used by your internet service. For PPPoE or Static IP, enter only the exact values supplied by your ISP or network administrator.
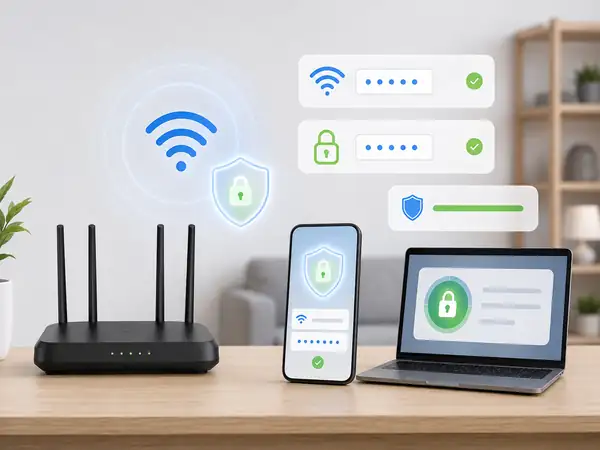
WiFi and Security
Set the SSID and WiFi password, then choose an appropriate WPA-based security mode. Where supported, WPA3 Personal is the stronger starting point; WPA2/WPA3 Transitional can help with older devices that still need WPA2 compatibility.
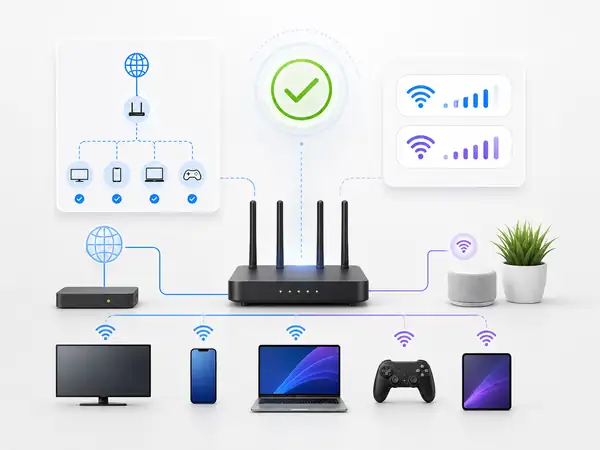
DHCP and Band Check
If this is the only main router, one active DHCP server is normally the cleanest setup. Leave supported WiFi bands enabled and start with automatic channel selection before making manual tuning changes.
Apple currently recommends WPA3 Personal for better security, or WPA2/WPA3 Transitional when compatibility with older devices is needed. WPA2 Personal (AES) remains an option when newer modes are unavailable. Apple: Recommended settings for Wi-Fi routers and access points
The U.S. Federal Trade Commission likewise recommends WPA3 Personal or WPA2 Personal, changing default administrator credentials, keeping router software updated, and separating the router admin password from the WiFi password. FTC: How To Secure Your Home Wi-Fi Network
⑥ Configure 2.4 GHz, 5 GHz, and 6 GHz as a system—not as a one-band-only choice
If your router supports multiple WiFi bands, a practical starting point is to leave the supported bands enabled rather than disabling one immediately. The best band depends on the distance, walls, interference, and the capabilities of each connected device. Older smart-home devices, for example, may support only 2.4 GHz.
| Band | Typical strengths | What to keep in mind |
|---|---|---|
| 2.4 GHz | Longer reach and broad compatibility with older devices | Often more crowded and more exposed to interference |
| 5 GHz | Higher capacity and speed at shorter distances | Signal can weaken faster through walls and distance |
| 6 GHz | Additional spectrum for compatible devices | Requires compatible router, client device, regional support, and suitable security |
Apple’s current guidance recommends enabling all supported bands and using Auto for channel selection as a starting point. It also recommends 20 MHz channel width on 2.4 GHz and Auto or all available widths on 5 GHz and 6 GHz. Treat those as a strong compatibility-oriented baseline rather than a guarantee that one setting is ideal in every home.
⑦ Keep DHCP and NAT under one clear network manager
DHCP automatically gives local IP addresses to devices such as phones, laptops, and smart-home gear. NAT allows multiple devices on a private home network to share one internet connection.
If the new router is your main router, the default Router Mode configuration with NAT and DHCP enabled is usually the simplest setup. If an ISP gateway already handles routing and your new device is only extending coverage in AP Mode, the added device’s routing functions may be disabled or limited automatically.
Apple recommends having only one DHCP server on the same network and generally enabling NAT only on the device that is acting as the router. More than one active DHCP server can create address conflicts, while NAT on multiple routing devices can create a double-NAT environment.
What happens if you put a second router behind an ISP router?
If both devices operate in Router Mode and both perform NAT, you can end up with double NAT. Basic browsing may still work, but gaming, VPN connections, remote access, and port forwarding can become harder to configure. If your goal is simply to extend WiFi coverage, AP Mode is often the cleaner choice.
⑧ Leave advanced settings alone until the basic router setup works
A common beginner mistake is changing several advanced options at once because they sound faster or more secure. Build a stable working network first, then change advanced settings only when you have a specific reason.
- DNS → Start with the default or ISP-provided DNS unless you have a clear reason to change it.
- IPv6 → If your ISP and router support it, automatic configuration is a reasonable starting point.
- MAC filtering → Do not rely on it as the main security control; strong WiFi encryption and passwords matter more.
- Hidden SSID → Hiding the network name is not meaningful protection against someone who is intentionally looking for the network.
- Remote management → If you do not need to administer the router from outside your home, leaving it disabled reduces exposure.
- WPS and UPnP → Do not enable them by habit; check whether your devices actually need them and understand the trade-offs first.
The FTC recommends turning off remote management, WPS, and UPnP when those features are not needed because they can weaken network security. Some gaming, media, or smart-home setups may still rely on UPnP, so confirm your actual use case before changing it.
⑨ Check firmware and administrator security before you finish
Even when the internet and WiFi are already working, do one final security and maintenance pass before calling the setup complete.
- Make sure the router is not still using a default administrator password that should be changed.
- Keep the WiFi password and router administrator password separate.
- Check the manufacturer’s official firmware update or automatic-update options.
- If the router offers configuration backup, consider saving a backup after setup is complete.
- If guests need internet access, consider using a guest network instead of sharing the main network password.
Apple recommends keeping router firmware current and backing up existing settings before changes when appropriate. The FTC also treats changing default administrative credentials and keeping router software updated as basic home-network security practices.
⑩ Test the router on the devices you actually use
Do not stop just because the router dashboard says “Connected.” A setup is complete only when the phones, computers, TVs, and other devices you use can connect and reach the internet reliably.
- Check that the new SSID appears on your phone or laptop.
- Join the network using the new WiFi password.
- Open websites on both a phone and a computer to confirm real internet access.
- Compare signal strength near the router and in the rooms where you normally use WiFi.
- If you use wired devices, test a LAN connection as well.
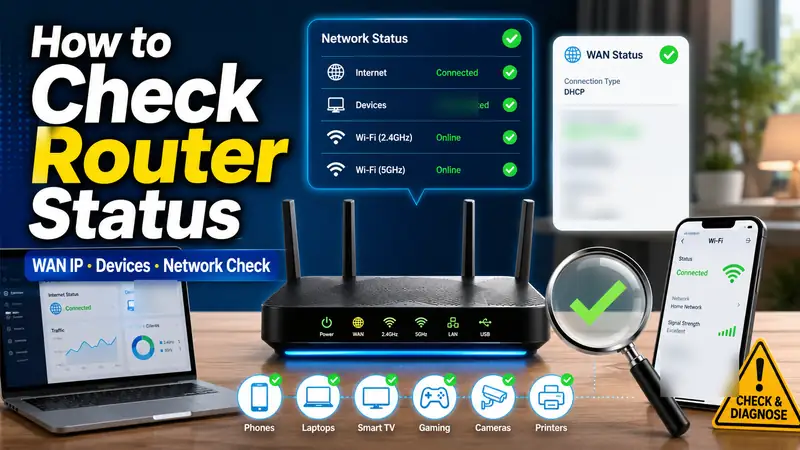
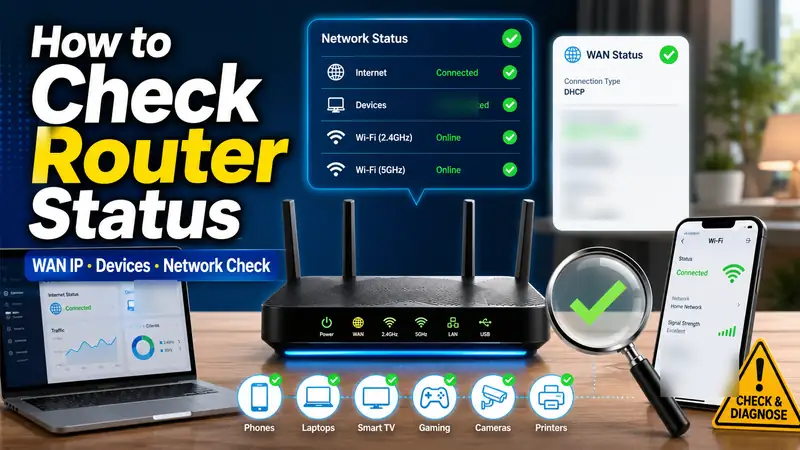
- Check the WAN IP and internet status in the router management interface.
- Reconnect commonly used devices such as TVs, printers, smart-home products, or game consoles.
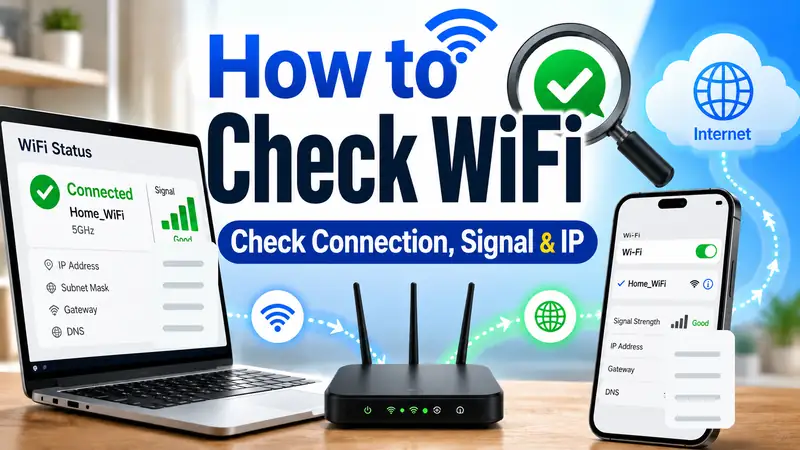
If WiFi connects but the internet does not work, or only one device refuses to connect, stop changing random router settings and return to symptom-based diagnosis. Use How to Check WiFi or How to Fix Router Problems to narrow down the failure first.
Router setup order at a glance
| Step | What you configure | Beginner-friendly rule |
|---|---|---|
| 1 | Router Mode / AP Mode | Use Router Mode when this device manages the internet directly; consider AP Mode when it sits behind an existing main router |
| 2 | WAN cabling | Put the incoming internet line in the WAN or Internet port |
| 3 | Management-page access | Use the official setup address or app for your model |
| 4 | WAN connection type | Choose Dynamic IP, PPPoE, or Static IP based on ISP information |
| 5 | SSID and WiFi password | Keep the WiFi password separate from the router admin password |
| 6 | Security, bands, and channels | Use current WPA security, enable supported bands, and start with Auto channels |
| 7 | DHCP and NAT | Make one device the clear network manager |
| 8 | Firmware and final testing | Check official updates, then test the network on several real devices |
❓ Frequently asked questions
Q. Can I just use 192.168.0.1 to set up any router?
A. No. The management IP, local domain, or setup app varies by manufacturer and model. Use the address or method shown on the router label, manual, or official support page.
Q. How do I know whether to choose Dynamic IP or PPPoE?
A. It depends on how your ISP provides service. If the ISP gave you a PPPoE username and password, use PPPoE. If the router receives its WAN information automatically, Dynamic IP is usually the correct choice. If you are unsure, confirm with the ISP.
Q. Can 2.4 GHz and 5 GHz use the same WiFi name?
A. Yes. Many modern routers use one SSID across multiple bands through band steering or similar features. If you need to troubleshoot an older IoT device or test a particular band, temporarily separating the SSIDs can make diagnosis easier.
Q. Can I leave my new router in Router Mode behind the ISP router?
A. You can, but if both devices perform NAT you may create double NAT. That can complicate gaming, VPN, remote access, and port forwarding. If your goal is simply to extend WiFi coverage, AP Mode is often easier to manage.
Q. The internet works, but one older device still will not connect. What should I check?
A. Check whether that device supports the selected WiFi band and security mode. Older devices may not support newer WPA settings or 5 GHz/6 GHz networks. Remove the saved WiFi profile if necessary and reconnect using settings the device supports.
Final takeaway: mode → WAN → WiFi → DHCP/NAT → verification
A good router setup is not about changing as many settings as possible. The important part is to decide which device will manage the network, establish the WAN connection first, and then configure WiFi and security on top of a working connection. If the new router is your main device, Router Mode is usually appropriate. If you are only extending coverage behind another router, AP Mode is often cleaner.
From there, finish in a practical order: WAN connection type → SSID and password → WPA security → WiFi bands and channels → DHCP/NAT → firmware → real-device testing. If the connection works normally but coverage is weak in parts of the home, the next logical topic is How to Set Up Mesh WiFi | A Beginner-Friendly Step-by-Step Guide.